Saturday, November 28, 2009

Sock Monkey Shirt Tutorial


I came up with this applique last year when I decided to make my kids sock monkey shirts. They loved them so much that I had to make them new ones this year along with some matching PJ bottoms with sock monkeys all over them.  So... in the spirit of giving, here is a free tutorial and applique pattern to make your very own sock monkey shirts.

Supplies Needed:

1 shirt for each person.  I like to use, red, white, or brown colored shirts so they coordinate with the monkey.
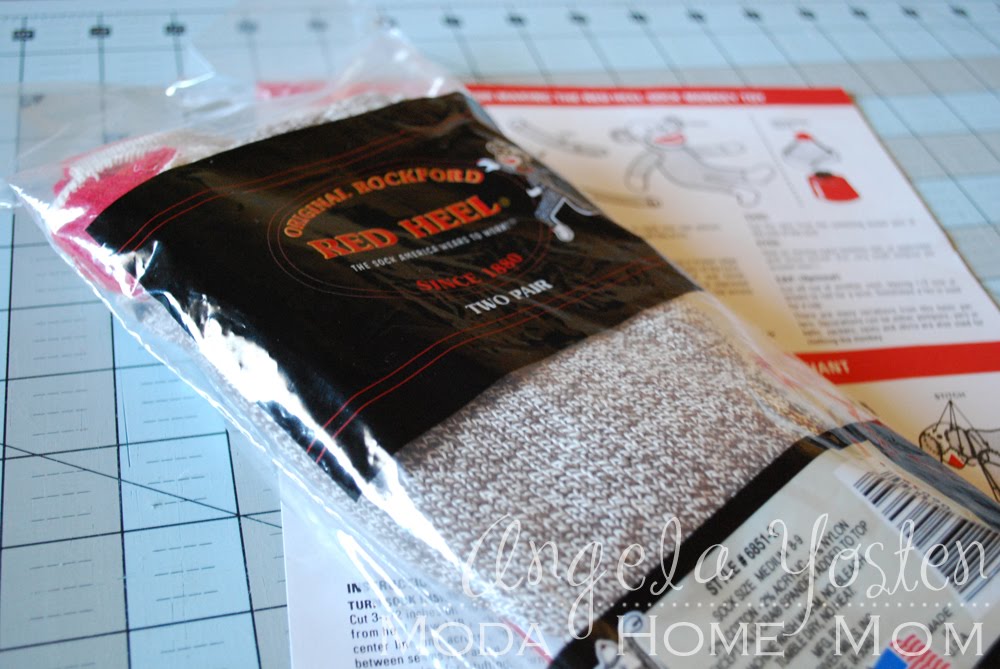
1 package of Red Heel Socks size medium
{The package comes with two sets of socks... you will need 1 sock for each shirt.  Each package will yield 4 shirts or 2 shirts and 1 sock monkey doll. Bonus... free sock monkey doll pattern included in pack of socks}
1/4 yd of Fusible Interfacing... I used Pellon SF-101
1/4 yd of Fusible Webbing... I used Pellon Wonder-Under
Scrap pieces of fabric for your monkey's lips, hat puff, and bow.  Charm Squares work perfectly for these pieces.
Sock Monkey Applique pieces... click here.
2 brown or black buttons for eyes for each shirt. 
Coordinating thread {cream and red}


Instructions:

Step 1...
Cut the sock in half lengthwise down the front of the sock.


Step 2...
Iron-on one side of the fusible web (wonder-under) to the inside part of the sock.


Apply the wonder under to the back side of your scrap pieces of fabric as well for your lips, bow, and/or hat puff.


Step 3...
Print out the Sock Monkey Applique pieces and cut out.


Step 4...
Trace your applique pieces upside down onto your sock and scrap pieces that have been fused with the wonder-under.  Cut the pieces out once you have traced them.


Step 5...
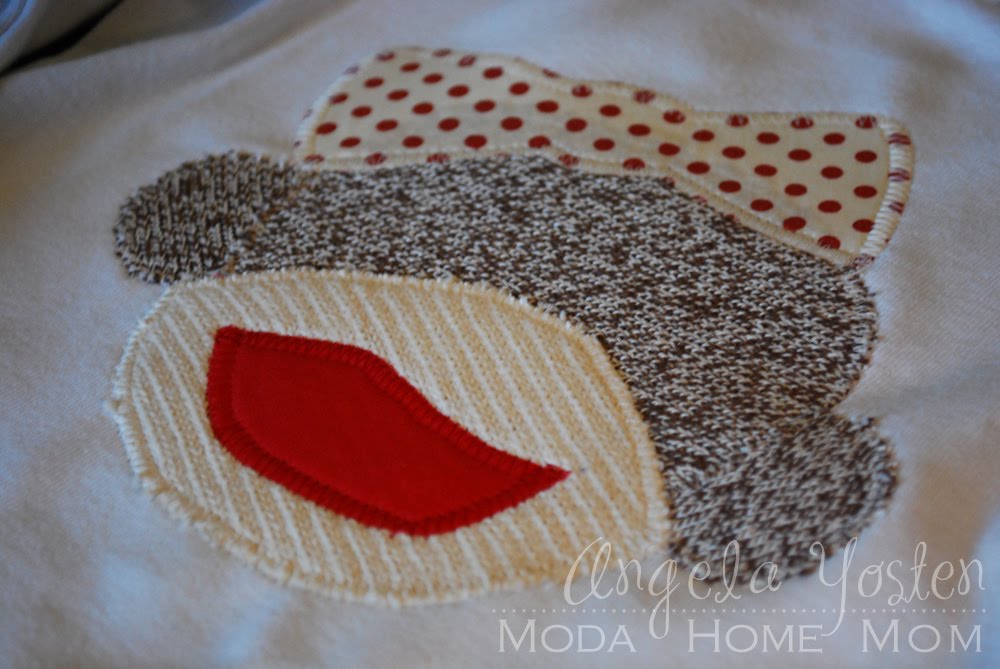
You should now have all your pieces fused with the paper backing still attached and cut out. Lay out your pieces to make the face of the sock monkey.


Step 6...
Remove the paper backing from the brown face and ears and place on the middle front of your shirt.  I like to dry fit with all the pieces on the shirt, then remove everything but the face and ears to make sure I have proper placement.  Iron in place.


Step 7...
Flip your shirt inside out with the backside of the front of the shirt facing up.

Cut out a piece of Fusible Interfacing 8" x 8" square. Lay your interfacing fusible side down centered on your monkey's face.  This will keep the shirt from stretching when you machine applique your pieces.  It will also help stabilize the shirt when washing over and over again.


Step 8...
Using a zig-zag stitch, machine applique your pieces onto your shirt.


Step 9...
Remove the paper backing from all the other pieces and iron in place.  If you are making the boy monkey, leave the red puff off this step.  This will be added later.


Step 10...
Using the zig-zag stitch again, machine applique all the pieces except for the lips in place.


Step 11...
Your shirts should now look like this...


Step 12...
If you are making a boy monkey, now is the time to iron on the red puff in place.
Change your top thread to red. The bobbin thread can stay a cream color.

Still using the zig-zag stitch, machine applique your monkey's lips and hat puff in place.


Step 13...
All you pieces are now appliqued on. Your shirts should look like this...


Step 14...
Hand stitch your button eyes in place to complete the shirt.  The size of the buttons is up to you... you can make them tiny beady eyes your large button eyes... this is where the personality of your monkey comes out.


You now have a classic Sock Monkey Shirt for each of your kids, grandkids, nieces, nephews, friends, etc.


To make a complete outfit... I made some PJ Bottoms using a Moda brushed cotton fabric, Funky Monkey by Erin Michael and the Slumber Buns Pajama Bottoms pattern by The Paisley Pincushion.


Oh... and did I mention that the package of Red Heel Socks comes with a free pattern to make your very own sock monkey doll?  One package of socks will allow you to make two shirts and one monkey doll.


Just think of all the things you can add a little sock monkey applique!


I would love to see your creations you made using my tutorial. Email me a link to your post, flickr, or send me pics!

Friday, November 20, 2009

The "Smisek" Bunch...

Just another Christmas Card idea.  This is my parents actual Christmas Card for this year and she is so excited that we actually got them done early this year.  She wanted the friends and family to be able to see the grandkids faces so we cropped and cleaned up the background for each kid and then added their birth order number in a light grey along with their name so everyone would be able to know which grandkids belonged to each kid.  Aren't they cute!


Inside of the card...


This idea can also be used if you framed each grandchild in a separate 12 x 12 frame and then assembled all the frames on your wall in a nine patch formation.  Or depending how many kids or grandkids you have you just create your pattern from that number.

Thursday, November 19, 2009

The Pioneer Woman

If you have never heard of The Pioneer Woman, then you must go check out her website! Cooking, Home and Garden, but best of all her Photography tips.  She has dozens of FREE Photoshop Actions that you can download and use on your very own pictures.  Just check out just a few of the actions I downloaded and used on my own pictures. 

Original Photo...


Define and Sharpen...


Slight Lighten...


Boost...


Old West...


Seventies...


Black and White Beauty...


Heartland...


Soft and Faded...


She also has a new Cookbook out that she is doing book signings in different locations.  Check it out here to find out if she will be coming to your area next.

Thursday, November 12, 2009

Cricut Shirt Tutorial


Starting last year, I started to take my parents Christmas card pictures of all their grandkids.  This year, I had the idea of numbering each kid in birth order. Currently, there are 9 grandkids with two more on the way.  The nine grandkids belong to their 4 children (me included).  So each family was in a different color - Red, Blue, Green, and Grey. 2 kids were in Red, 3 in Blue, 2 in Green, and my 2 kids were in Grey.  I used my Cricut Expression and was so impressed with how much time it saved me, I just had to share the tutorial on how to cut fabric with your Cricut.

Supplies Needed:
Cricut Expression Machine
Plantin Schoolbook font cartridge - comes with the Cricut Expression machine New blade - This is a MUST! Imagine using your paper scissors to cut fabric... not good!
{I went through two blades making 9 shirts and playing around with it while testing it out}

New 12 x 12 mat
Pellon Wonder-Under
Shirt(s) -  I got mine from Old Navy
Moda Layer Cake Squares or 10" x 10" piece of fabric for each shirt

Instructions:

1- Iron the wrong side of your 10" square piece of fabric to the wonder-under. Trim around your fabric square.

2 - Place the paper side of the fabric down on the sticky side of the NEW mat for your Cricut.  Line it up at the correct corner using the guide marks on your Cricut mat.  Place the mat at the opening of your Cricut machine.

3 - Type in the numbers you wish to use for your shirt.  For this fabric, I used two number 2's... enter 22... on the Shadow setting.  Adjust your starting location to Left/Right: 2 and In/Out: 2. I set my blade dial to 4 (can be changed to 5 if needed), pressure on highest mark, speed to the 4th bar and the size they varied between 7-1/2" to 8" depending on the number.  If you set it for 8", then the machine will tell you if there is enough room, if not adjust down to 7 1/2". Load Paper and CUT!

4 - Once your numbers are done cutting, unload paper, then Load paper again.  Set your location to 9 and 2, change size to 2 or smaller... (whatever will fit) I always started with 2.5" and then if the Cricut told me it was too big for the area set, then I reduced until the whole name would fit.  The smallest I did was 1". Type in the name, set it on the Shadow setting... and CUT! 


5 - Once it is done cutting the name, unload the paper and wala!  You have two numbers and a name ready to be applied to a shirt.  NOTE:  You may need to use your Cricut tools to help the smaller letters and details come off the mat easily.

6 - Lay your shirt out flat and position your number for the front.

7 - Remove the paper backing from the back of the fabric and iron in place.

8 - Repeat the process for the back of the shirt and iron on the number and name... jersey style!

9 - Finally, stitch around all your numbers and letters for a finished touch.

Adorable new shirts made with the ease of your Cricut machine!  Make one for each of your kids, grandkids, nieces, and nephews!


Related Posts with Thumbnails